Order Direct from the Manufacturer
How to light a log fire?
Mastering the Art of Fire: How to Light a Log Fire
The allure of a crackling log fire is hard to resist, whether you’re cozying up indoors during a winter storm or enjoying the great outdoors on a camping trip. To create the perfect fire, it’s essential to know how to light it correctly. In this step-by-step guide, we will explore the art of lighting a log fire, ensuring a safe, efficient, and beautifully blazing fire.
1. Prepare Your Fireplace or Fire Pit
Safety should be your top priority. Ensure that the fireplace or fire pit is clean, free of obstructions, and in good working condition. Make sure the chimney or flue is open to allow for proper ventilation. Safety precautions, such as a fire extinguisher and fireplace tools, should be readily available.
2. Get Your Firewood Ready
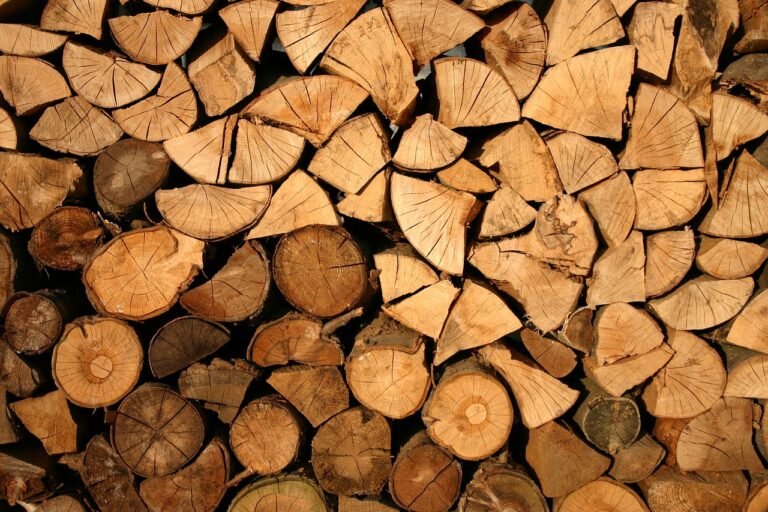
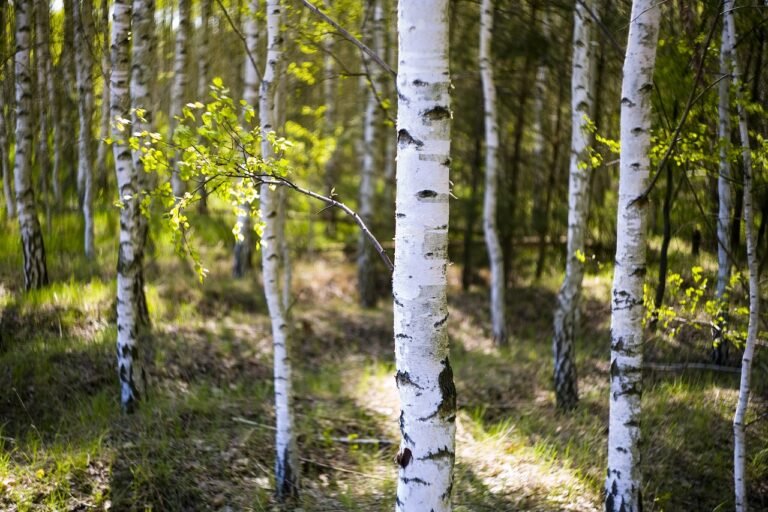
Choose the right type of firewood for your fire. Hardwood, like oak, ash, or birch, is preferred for its slow burn and high heat output. Avoid softwood like pine or cedar, as it burns quickly and may create more creosote buildup in the chimney. Gather a mix of log sizes, including kindling, small logs, and larger logs.
3. Assemble Fire Starters
Fire starters are essential for igniting the fire. You can use commercially available fire starters, like wood wool, or use newspaper, or homemade fire starters. If using newspaper, crumple it into loose balls or knots to create kindling. Consider using natural firelighters like fatwood sticks, which are excellent for quick, efficient ignition.
4. Create Airflow
Proper airflow is crucial for a successful fire. Ensure there is adequate airflow by opening any dampers or vents on your fireplace. If you’re lighting a fire in an outdoor fire pit, position it in an area with minimal wind interference.
5. Stack the Firewood
The way you stack your firewood can significantly impact the success of your fire. Two popular methods for stacking are the teepee method and the log cabin method.
– Teepee Method: Create a teepee structure by leaning smaller pieces of firewood or kindling against each other in a pyramid shape, with the smallest pieces at the center. Place fire starters or newspaper in the center of the teepee. As the fire starters ignite, the flames will catch the surrounding wood.
– Log Cabin Method: Build a square or rectangular structure with the firewood, stacking smaller pieces or kindling in the center. Leave some space between the logs to allow for airflow. Place your fire starter or newspaper in the center and light it.
6. Light the Fire Starters
Using a long lighter or matches, ignite the fire starters or the crumpled newspaper in the center of your firewood stack. Ensure you have enough fire starters to establish a strong flame. Once the fire is established, it will begin to spread to the surrounding wood.
7. Monitor and Feed the Fire
Once the fire is lit, keep an eye on it and add more firewood as needed. Start with smaller logs and gradually increase the size as the fire builds. Properly placed logs should catch fire easily from the kindling.
8. Safety and Maintenance
Ensure you maintain the fire safely. Use fireplace tools to shift logs, add more firewood, or adjust the airflow as necessary. Always keep a close eye on the fire, and never leave it unattended. When you’re finished with the fire, let it burn down completely and cool before cleaning the fireplace or fire pit.
Conclusion
Lighting a log fire is an art that combines safety, science, and a touch of skill. By following the steps outlined in this guide, you can create the perfect fire every time. Remember to prioritise safety, use the right type of firewood, and establish proper airflow for an efficient and beautiful blaze. With practice, you’ll become a master of the art of fire, ensuring memorable moments by the warmth and glow of your carefully crafted log fire.


